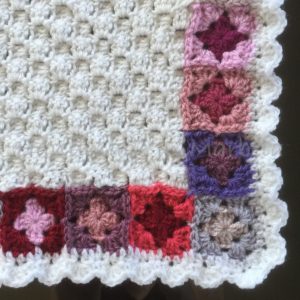
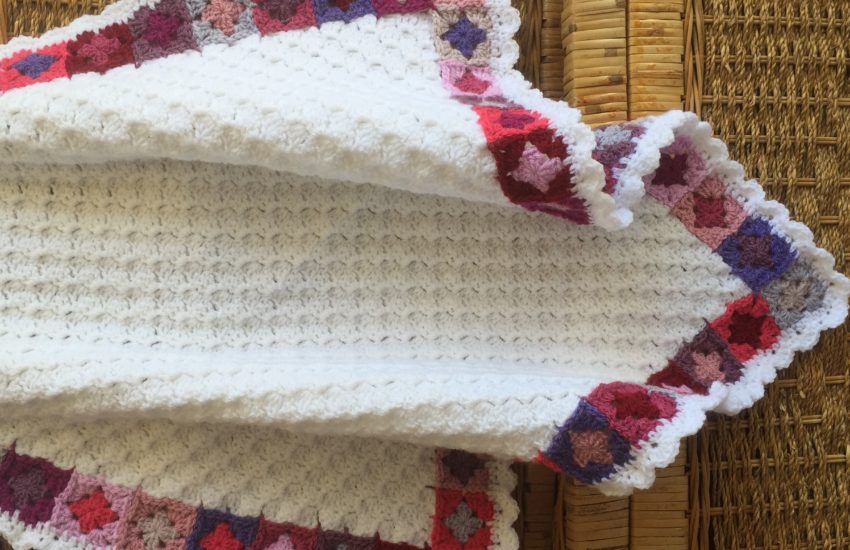
 Start with a corner to corner blanket. (If you need instructions for this you can get a free pattern by Susan Carlson on Ravelry with photos) You can do any size but the rows should be in multiples of 3 on each side so that the mini granny squares fit. I increased for 36 rows and then decreased for 36 rows. This gave a finished blanket size of aproximately 62cm square.
Then make mini granny squares joining them to the blanket as you go on the final round. Make them fit to 3 rows of the main blanket. Attic 24 has a good tutorial for the join-as-you-go method here: http://attic24.typepad.com/weblog/joining-asyougo-sqaures.html
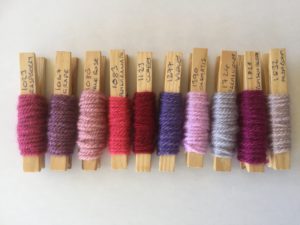
The colours I used are from Stylecraft Special DK
- White

- Raspberry
- Grape
- Pale Rose
- Pomegranate
- Claret
- Violet
- Clematis
- Parma Violet
- Boysenberry
- Mushroom
The border is in 2 rounds:
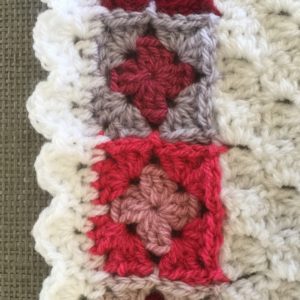
Round 1: Half trebles (UK terms). There are 7 in each mini granny square and 1 in the space between squares.  You can see in this close up where each stitch goes. On the corners I did 2Htr, 1 chain, 2Htr.
Round 2: Starting on a Htr that is between 2 squares: 1 single crochet, *miss next stitch, (1 Htr, 3 Tr, 1 Htr) all in next Htr, miss next stitch, 1 single crochet* repeat *to *. At the corners the single crochet goes in the 1 chain space.
I am not a pattern writer. This is just a description of how I made the blanket but if you can crochet reasonably well you should be able to follow it. If you have questions I will try to answer them in the comments below.


loved the blanket, what a great way to use up your leftovers